|
|
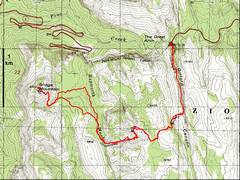
GPS trace on 24K
map. The hike starts S in |
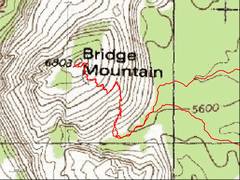
Closeup of route near summit. |
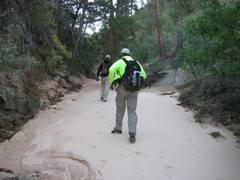
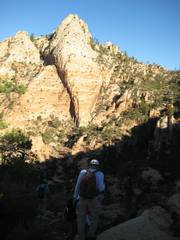
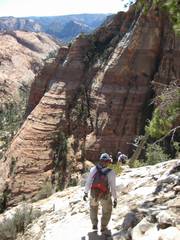
Starting off in |
|
|
|
|
|
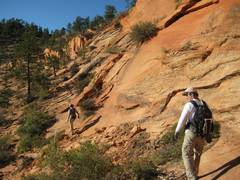
Climbing W out of |
Traversing on ledge system N of 1st bowl. |
Descending NW into 2nd bowl. |
|
|
|
|
|
Coming down ramp to east-west wash. (3rd bowl). |
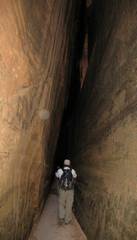
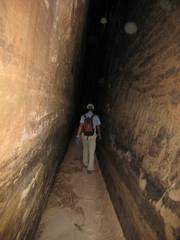
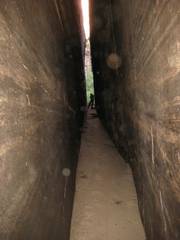
The Vortex, a huge crack back into the mountain (thanks Lori C). |
|
|
|
|
|
|
|
|
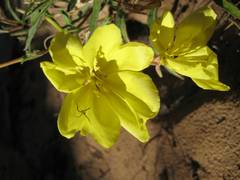
Primroses |
|
|
|
|
|
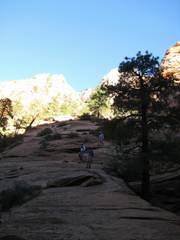
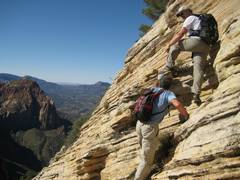
View S. Starting up the 1st N-trending ramp. |
Farther up the same ramp. |
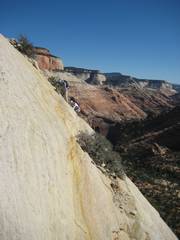
The airy traverse on thin ledges. |
|
|
|
|
|
|
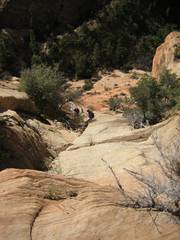
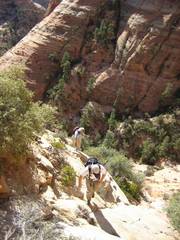
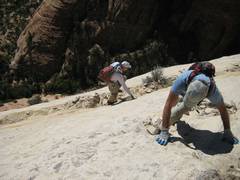
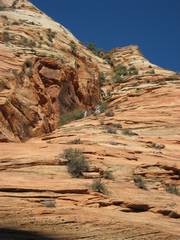
Up the fragile sandstone. View SE. Shortly after this photo was taken, several hundred lbs of rock, just left of Nick, let loose, totally unexpectedly. Richard, below, dodged the mass by quick-thinking and good reflexes. |
Richard below. |
|
|
|
|
|
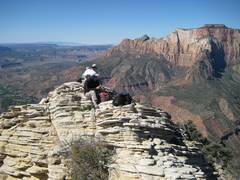
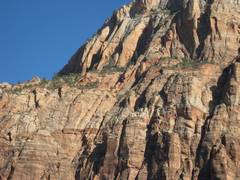
View E back at the route in. |
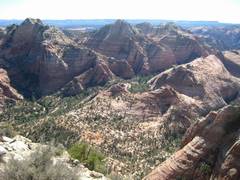
From the summit,
WSW to |
View S to |
|
|
|
|
|
|
|
|
|
|
|
|
|
|
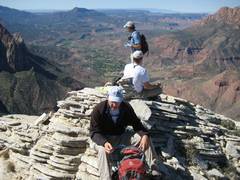
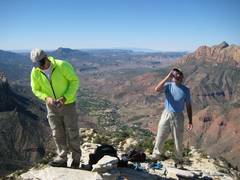
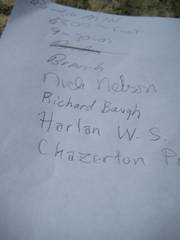
We knew Chazerton Purcell had been there before, so we signed his name in the log. |
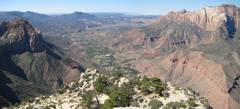
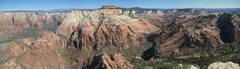
Panorama mainly N. |
|
|
|
|
|
Down to the upper end of the ramp. |
I’m looking back up, N, as my compatriots descend the ramp. |
On the way out, I’m looking W to the saddle S of Bridge. There is a hidden gully behind the smooth sandstone shoulder, but I have no idea if it would “go”. |
|
|
|
|
|
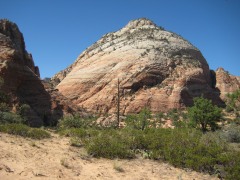
View W to Bridge, showing our approximate route. |
Heading W to the 3rd bowl. |
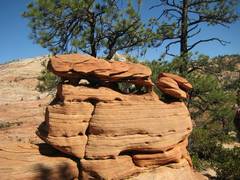
Neat rock. |
|
|
|
|
|
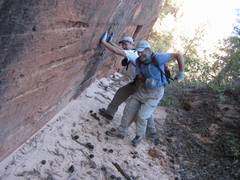
BW keeps wall from collapsing on NN. |
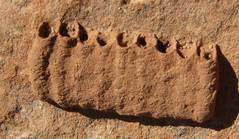
Mud dauber. this feature was incredibly hard, appeared to be made of sandstone, and was out in the open on a 0 degree slope. |
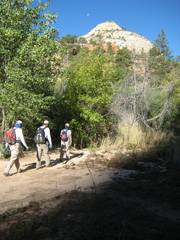
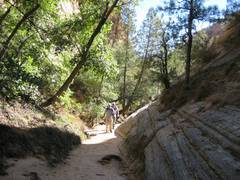
View S; heading out
of |
|
|
|
|
|
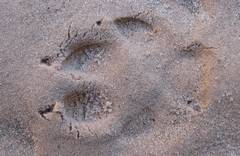
Canid. |
|
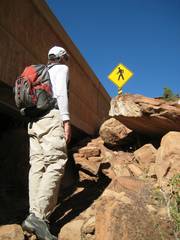
The last irony, as we approach the parking lot. |
|
|
|
|
|
The delicate arch that gives Bridge its name. |
|
|
|
|
|
|