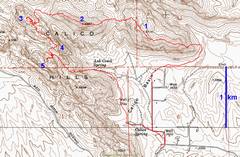
|
|
|
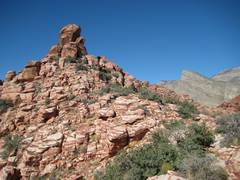
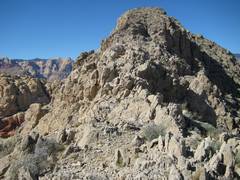
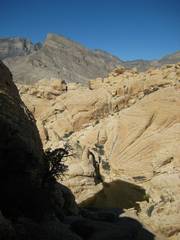
View W. The east
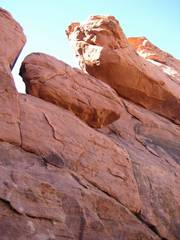
end of peak 1 (actually a serrated ridge, called |
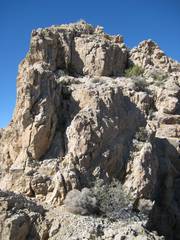
View back E from the top of the tower. This is not the highpoint of Kraft. |
|
|
|
|
|
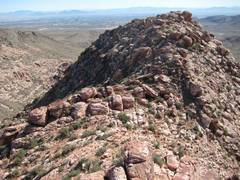
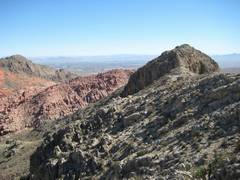
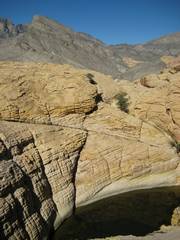
View NW from the highpoint of peak 1; Turtlehead is the main peak just L of center, and Madre is R of Turtlehead. |
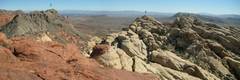
This panorama, on the way up peak 2, was taken several years before. The Peaks are labeled. Peak 3 (Turtlehead Jr., aka Redcap) is hidden by peak 2. The blue line represents a deep hidden cut between Peaks 4 and 5. |
Approaching Peak 2. The small register on top, placed in 2004, is full with names, many from foreign countries. |
|
|
|
|
|
The last push to Peak 2. |
Looking back E from the W end of Peak 2. |
Now we’ve navigated up the N side of Peak 3 (Redcap). One cuts L… |
|
|
|
|
|
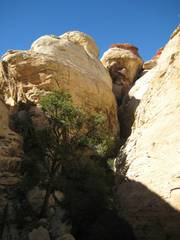
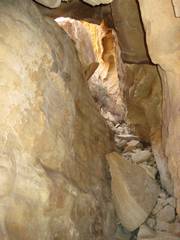
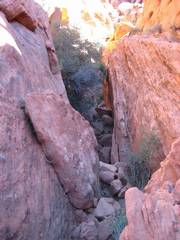
…up this cave. |
This is the crux of the route to Peak 3. There is a valley between the two summits; one must climb down into this valley, and climb L over this boulder. |
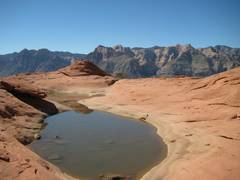
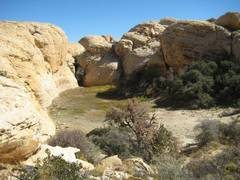
The tinaja near the top of Peak 3 still had some water. |
|
|
|
|
|
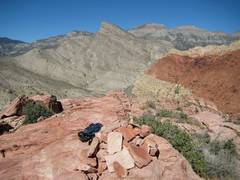
From the top of
Peak 3 (Redcap), view E, with the peaks numbered. Peak 1 ( |
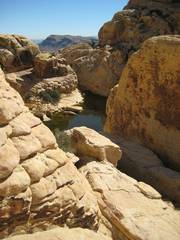
This is the largest tank between Peaks 3 and 4. I’ve never seen this tank full, though the tank to the N was full. |
Approaching the top of Peak 4; view E. |
|
|
|
|
|
From top of Peak 4, view E. |
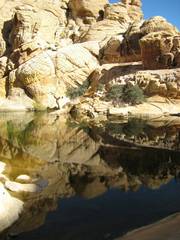
On descending Peak 4, the big “Calico Tank” (the one with the trail) comes into view. |
Briefly one passes by Calico tank en route to Peak 5. |
|
|
|
|
|
View back over Calico Tank to Turtlehead. The route to Peak 5, on the east end of the mountain, is exposed and involves some “big” moves. |
This is the TOP of peak 5; this very deep tank is very near the summit. |
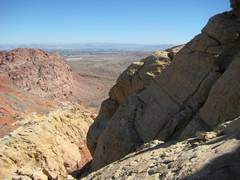
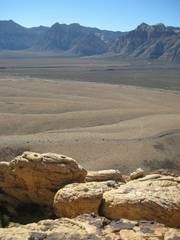
View SW to Red Rocks, from top of Peak 5. |
|
|
|
|
|
Now one descends down the E-W gully. The mountain in the distance is the same peak seen from the top of Peak 4 (photo above). |
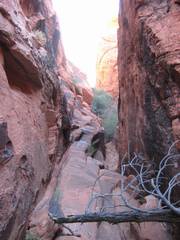
The descent in the slot is actually one of the hardest parts of the trip. Here one looks down a vey deep chimney, with a 40’ drop to the bottom. |
Another deep dark section on the way out. |
|
|
|
|
|
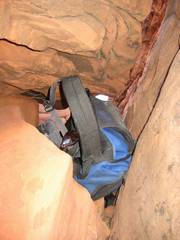
The last tough spot involves squeezing through a narrow hole, and pulling your pack behind you. |
|
|
|
|
|
|