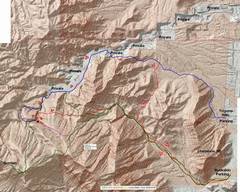
 Our Sept. 2023 route is in red, indicated by red arrows. The blue is a route from the north. Green indicates combo with Gottlieb, magenta is a way to avoid sh*t Celes and I hit.The light orange is BLM land, white iis private, owned by Redi-Mix. |
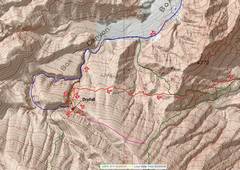 Close up. |
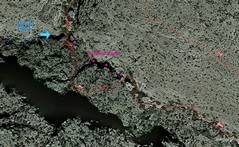 Even closer, Google Earth. We dropped into Canyon east of "normal," and quickly realized this would be a neat variation for the prepared. For this variation, bring 200' cordage and lots of anchor-build material (e.g. webbing and links). |
 Early on, passing outlet for Hidden Canyon. |
 View N from normal drop-in to Box Canyon. |
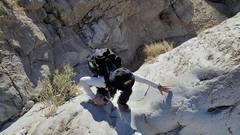
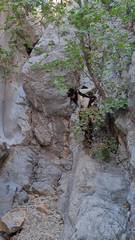
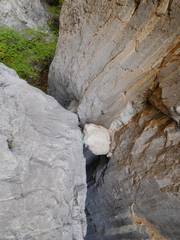 First obstacle, R (E) side: you can do a class 4 non-rap down here. In 2016, there was a rap sling here. The bolted rap in on the L (W) side. In 2023 I used this, Celes went down on L. |
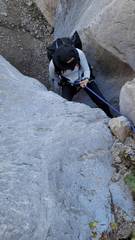
 Now I'm at bottom of E side, looking S back on how I came down, non-rap. Best to lower pack. |
 Same spot, Celes raps W side (view S) |
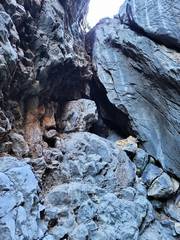
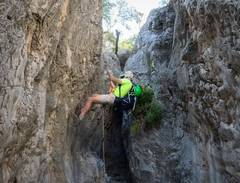
 Next obstacle looks like a rap required, till you look L and see a class 2-3 climb-down. View N. |
 View S as Celes comes down same spot. |
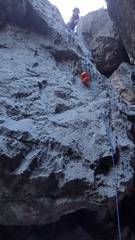
 2nd rap. There is a chain on W (L) wall, but we were low on anchor materials, so put a black spliced Dyneema sling around closer tree(s). |
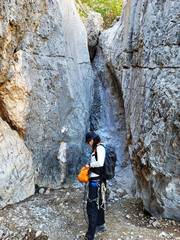 View S, 2nd rap is 10' in back of Celes. |
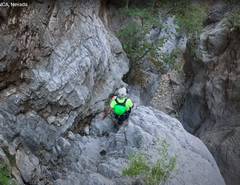
 View S, 3rd rap. There is a chain anchor at L (E) which allows a walk-off to slight overhang. Maybe 40' from chain. I used Munter. We tied 2x 20m ropes together with double EDKs directly on chain. |
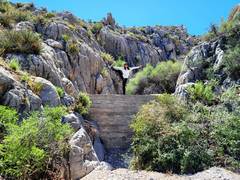 Celes, View S, old dam. |
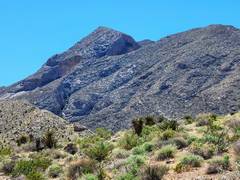 Summerlin Peak on way out. |