Topo map of route (in red). |

We're heading toward Mescalito, and will
soon take the canyon at R. |

This is the first significant obstacle,
a steep, slick sandstone ramp.
Kris used his rock-climbing
balance to make it up, despite his
nearly-worn-flat shoes.
Mike in photo. |

Barb, as we look E, about
to leave Fern Canyon
(photo by Kris B). |

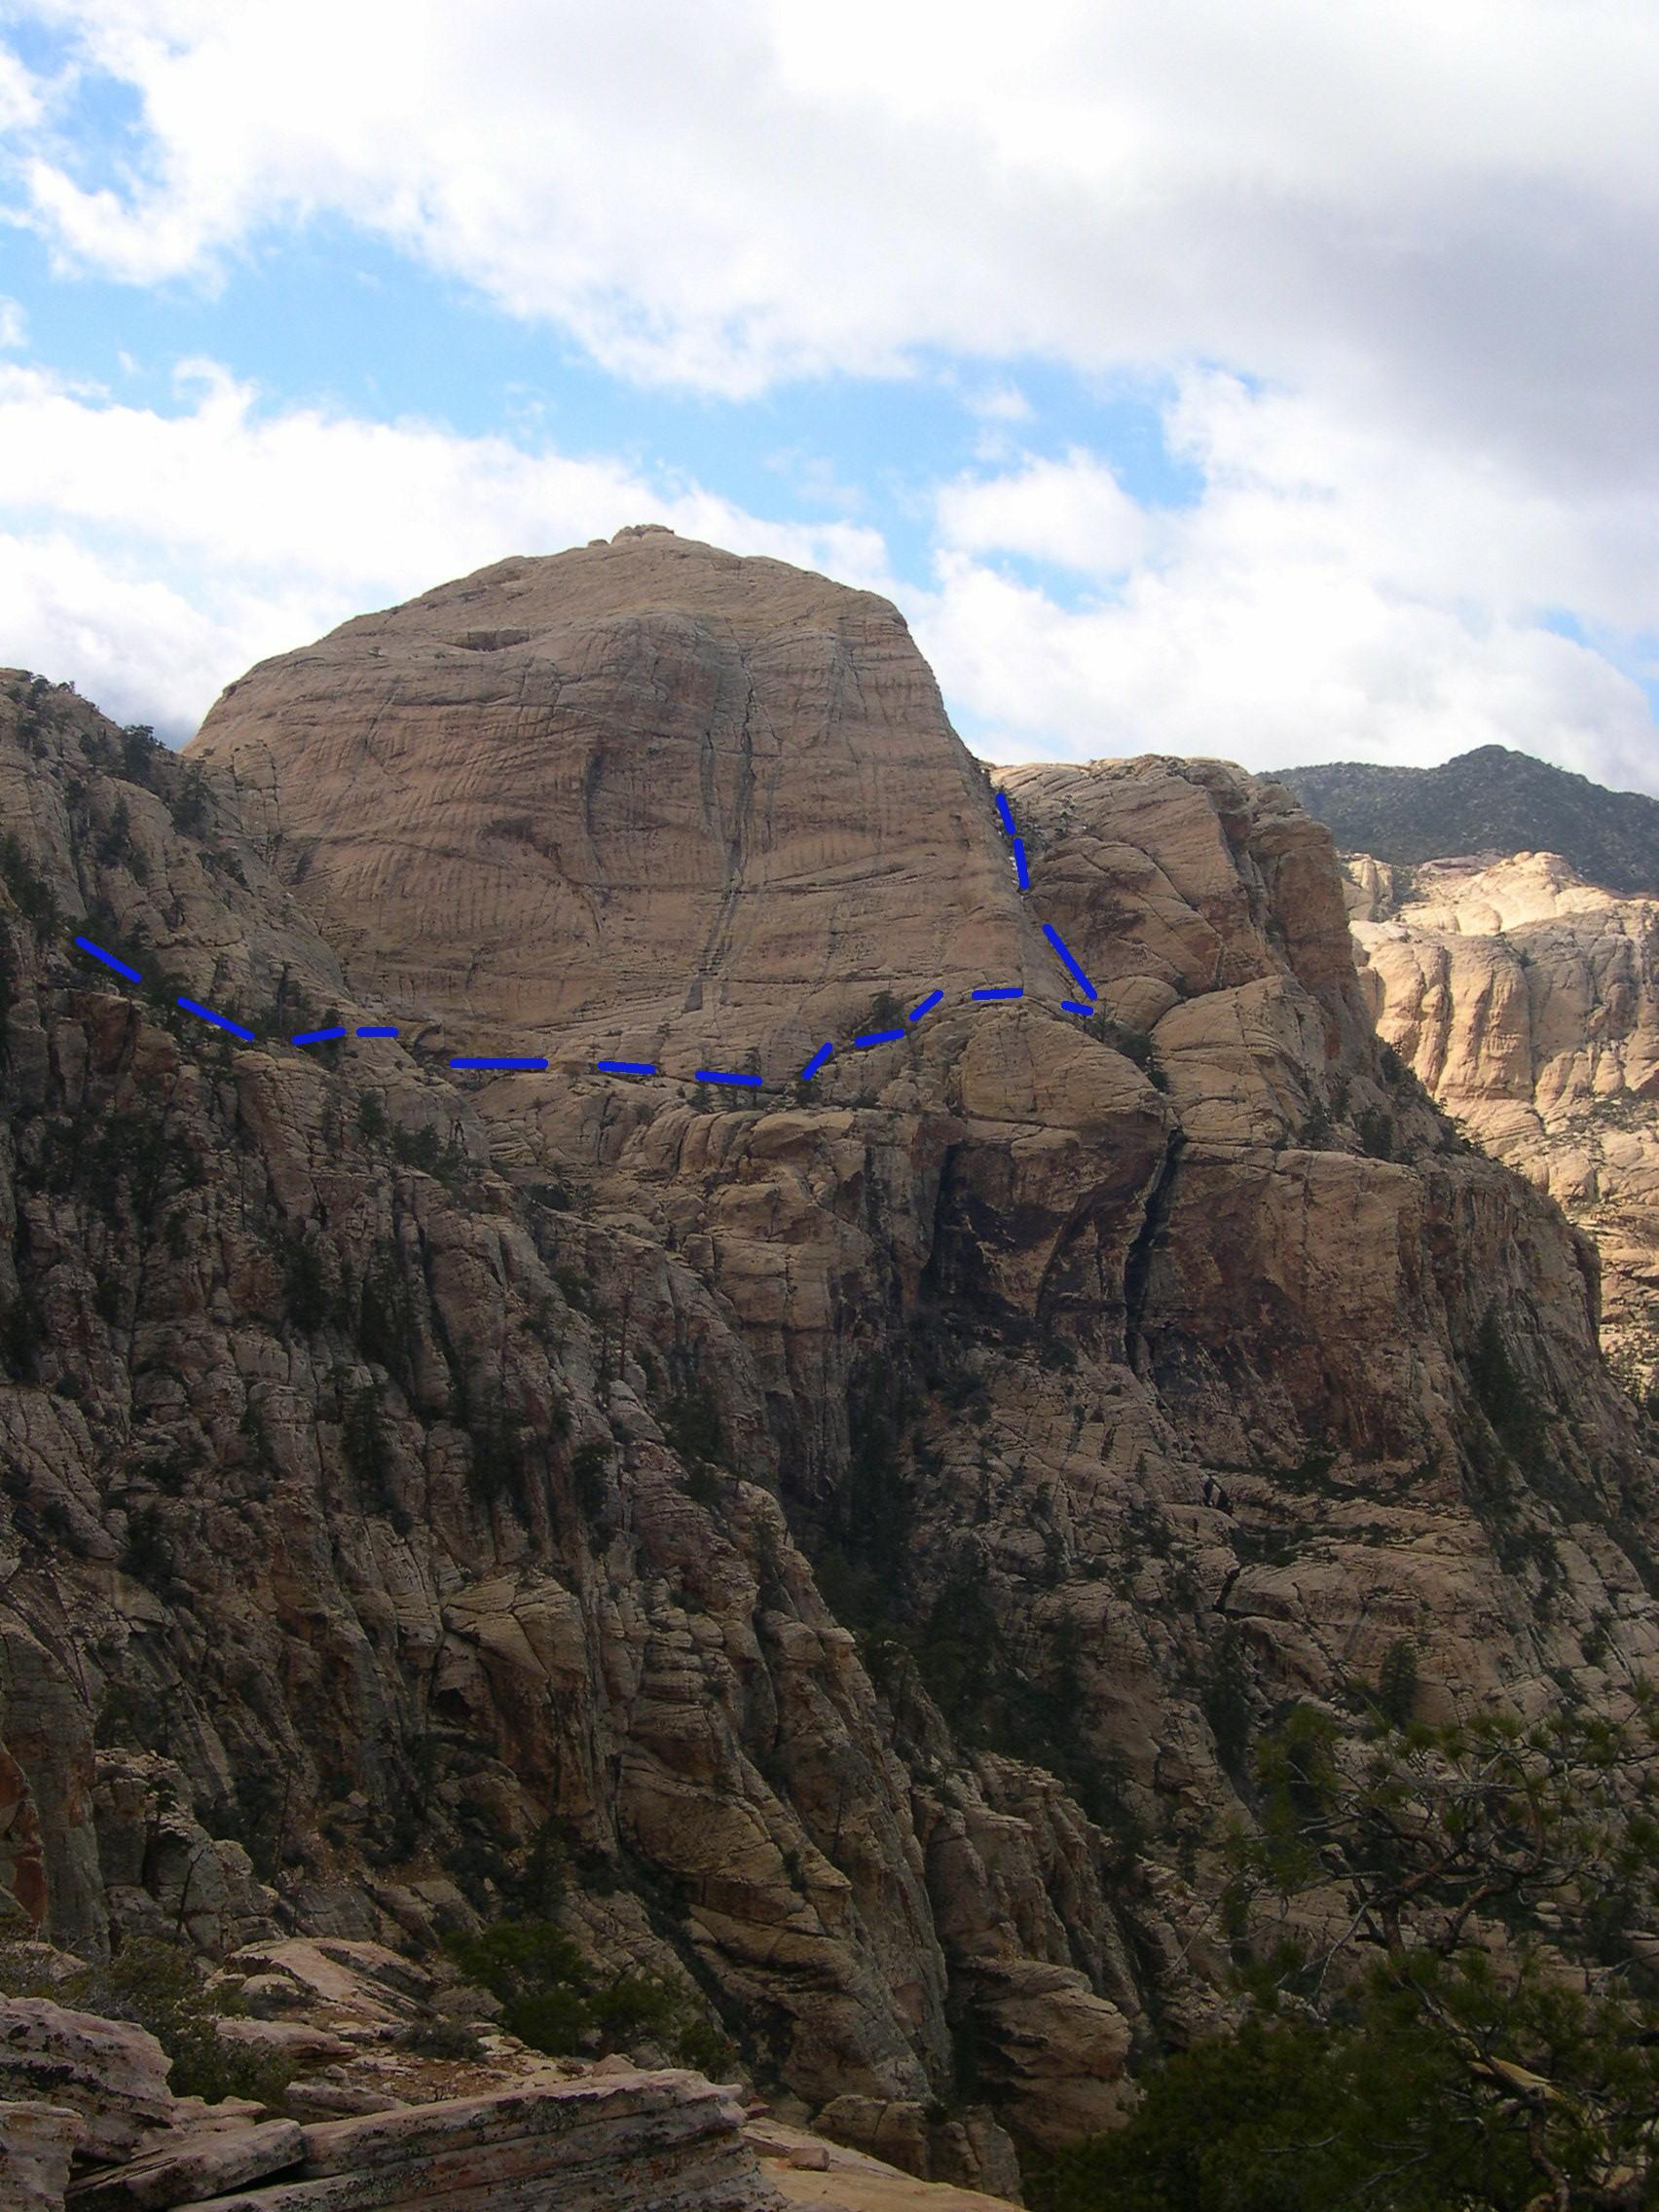
View SW, as we climb up the
ramps on the N side of
Fern Canyon. |
 |

This is the infamous "black wall"
on the way up to Bridge Point
saddle. |

View from below, as Barb and Mike
climb the wall. Photo by Kris B.
|

My view of Barb topping the wall. |

Kris climbs the wall. |

Up higher, another view SW. |

Up a steep set of dryfalls. |

A bighorn sheep stares over the wall. |

A sheep in flight. |

Another sheep in flight. |
 |

I was so absorbed in
route-finding, that I didn't take
another photo till we were on
the E side of Bridge. This is
the "step-across," another
memorable challenge. There is
a lot of exposure to the L. |

We drop down and enter the NE gully
on Bridge, View to NE. |

View SW, up the gully.
The route covers some steep
and slick sandstone. Photo
by Kris B. Kris did very well
here, considering his shoes! |
 |

View back NE, past the
red ridge used to take the 3rd
photo. |

We've finally topped the steep gully. |

Past string-of-beads pools... |

A lot of the water was frozen, which
made for treacherous footing. |

Now we climb out of the lower section
of the HIdden Forest. |

One must carefully creep over this
bulge. |

Now Mike is on the last ramp system to the
top of Bridge. |

Ta-da! On top. |
 |

Me! View ENE, by Kris B. |
 |
 |

Descending, by Hidden Forest. Barb
is up there. |

Barb and Kris are up there. |
 |
 |

Across the bridge! |
 |
 |
 |
 |

Down the last exposed gully on the
SW side of the summit. |

Now we have to climb back up! |

View E to Bridge. We came down the
crack just R of Mike's R shoulder. |
 |
 |

The airy Pine Creek viewpoint. |
 |
 |

Rainbow to SE. |
 |

Not the shoes! |