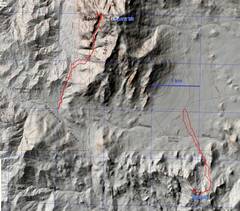 The USGS topo does not resolve the spikiness and complexity of the terrain. |
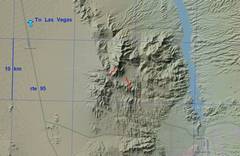 Context |
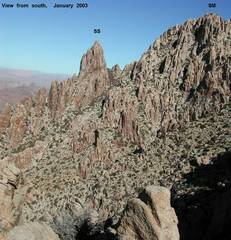 View from south of Spirit Spire (SS) and Spirit Mt (SM), early 2003. This was the first time I considered climbing the spire |
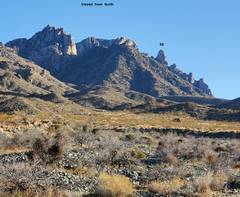 View from north, early 2021 |
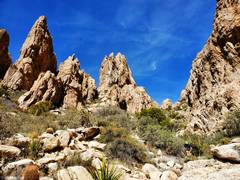
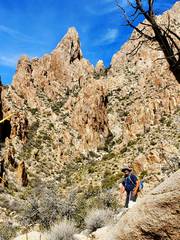 The spire as seen on the approach. Bob kept smiling as we all fought spiky plants. |
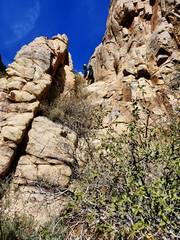
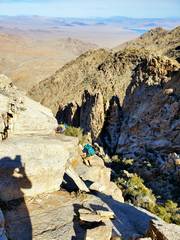 A resting spot just after a creepy traverse |
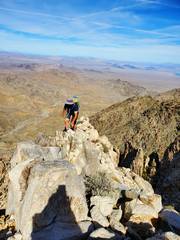
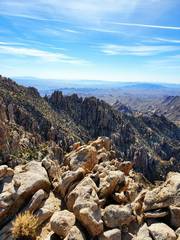 I topped and took this pic of the ridge I took to Spirit 19 years before |
 Spirit Mt from Spire |
 Bob comes up the very thin summit ridge, with serious exposure to R and L |
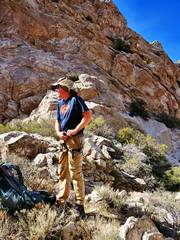
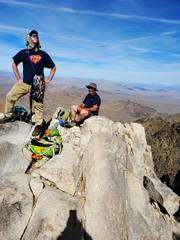 Walt and his rack, still wearing boots... and no harness! We used no gear, but he did carry all that metal, so dammit, he deserves the hero pose! |
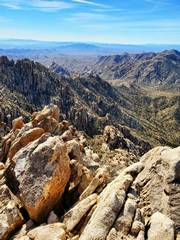 View S |
 Walt starts to head down |
 Walt at base of wall. There is one route that follows small, steep "ramps" between ledges |
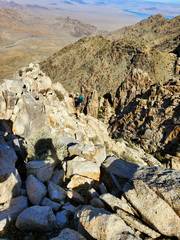
 The descent involved stuff close to class 4, just to avoid brush |
 View N and back UP at terrain |